Camping
Roofi Car Rooftop Storage Bag
Introduction
Even though I have a bakkie, storage is always a problem when trying to pack things, especially as I do not want to tow a trailer. The problem was exacerbated by the addition of a fridge to our camping gadgets. We made a cargo net inside the bakkie, for storing flattish items like tables and chairs, but these proved to be way too heavy for the net. Pat came across rooftop storage bags in her wanderings on the web, and she found the Roofi storage bag on Takealot. This bag had very positive reviews, so we decided to take the plunge and bought one.
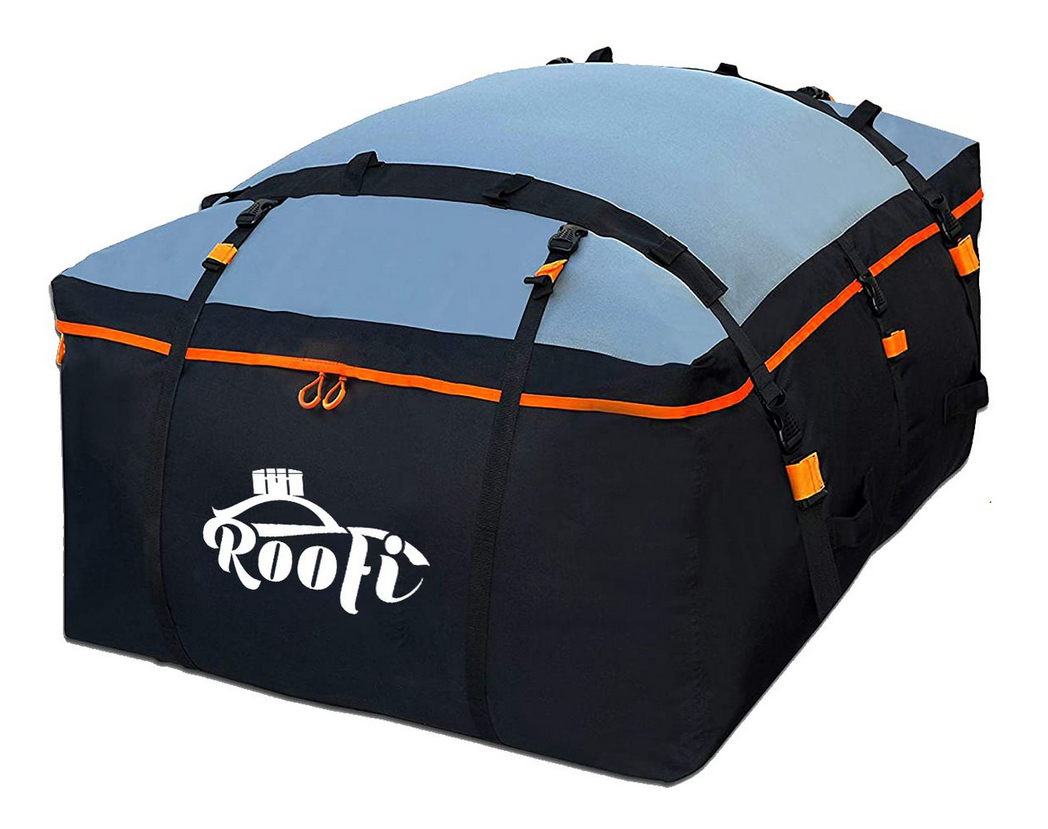
Fig 1 The Roofi storage bag
I share some of our findings from using the bag, especially with regard to dimensions and folding as this is sorely lacking on the product page. The leaflet that is the "manual" is also not very helpful.
First impressions
The Roofi storage bag comes in a compact carry bag.
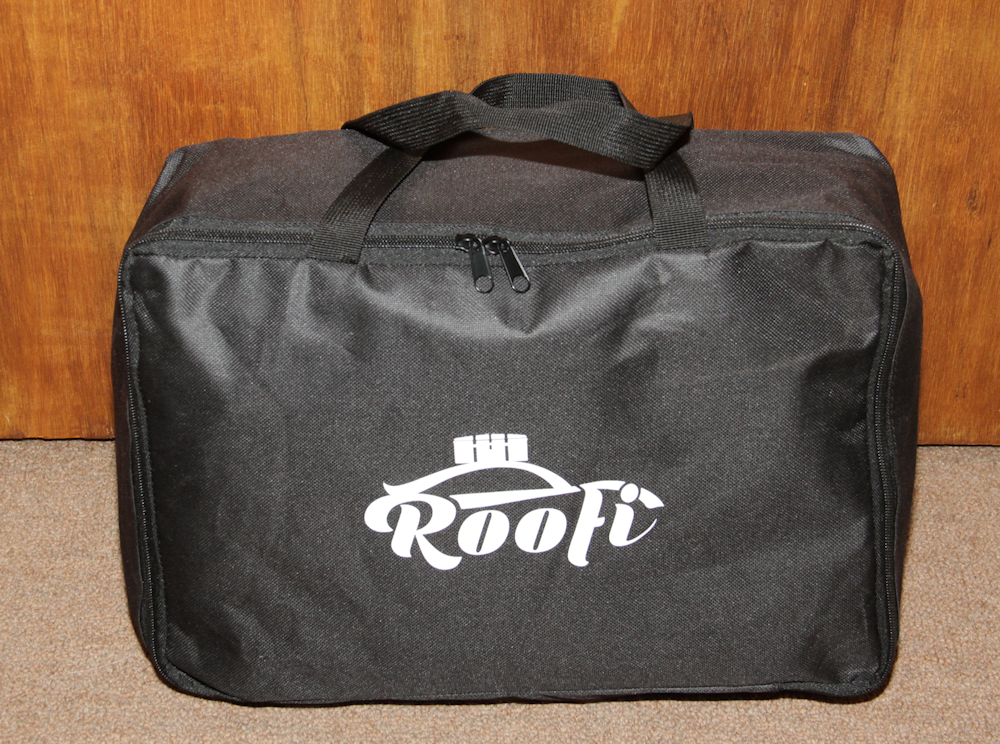
Fig 2 Roofi in its carry bag
Now this was one of my gripes with the blurb on Takealot's product page. You are given the maximum size of the Roofi when packed, but no mention is made of the size when it is folded ready for storage (or even if you can actually fold it!). The dimensions of the bag shown in the Fig 2: 400mm x 290mm x 150mm, which is really small when compared with the Roofi itself as shown in Fig 1 (1200mm x 900mm x 500mm).
We set the Roofi up on the dining room floor, and then packed it with some of the things we would take with (table, chairs, mattresses and a few other odds and ends).
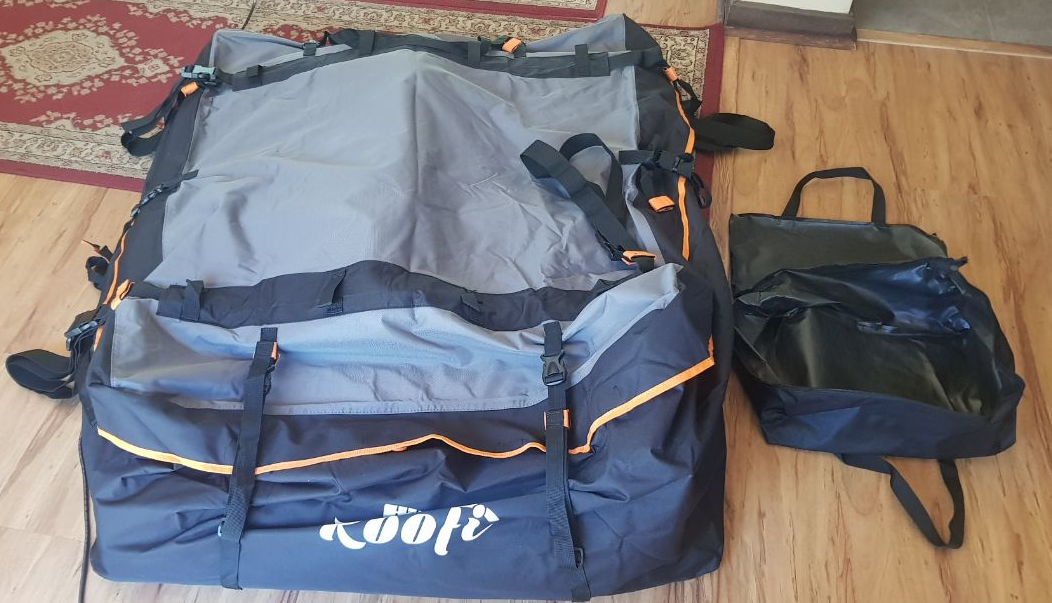
Fig 3 Roofi test packing
As you can see, even with quite a few items packed, the Roofi has space to spare.
Overall impression is that the bag is very well thought out and really well made. The material looks strong and (hopefully) durable. I really like the velcro tags on the ends of the webbing straps to stop them from flapping in the wind.
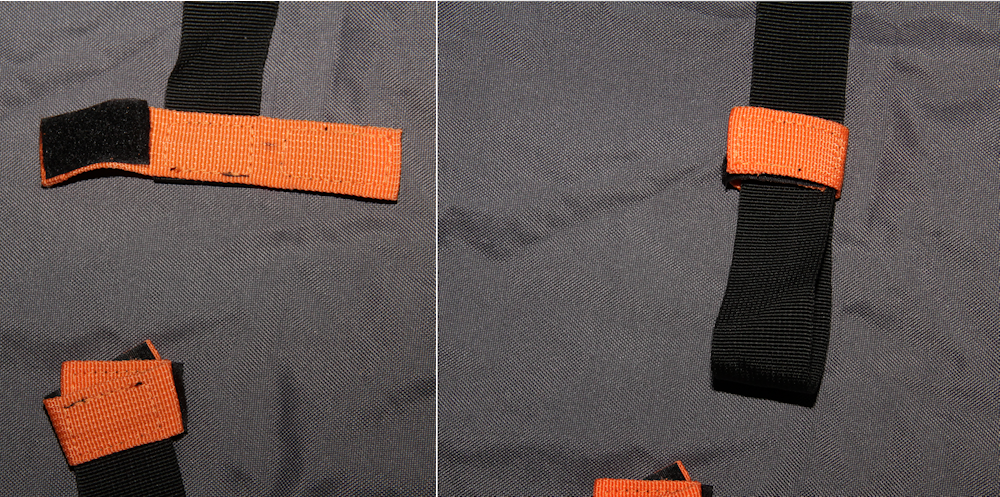
Fig 4 Velcro tags at the end of the webbing straps
In the left hand pic in Fig 4, you can see the velcro tag open, in the right hand pic you can see the tag attached to its mate, wrapped around the webbing. If you position this properly, the webbing wiil not flap around in the wind.
(updated: 1 March 2023)
Trial run
Before I could set the Roofi up on the bakkie's canopy, I had to make suitable tie-down points for the straps. The bag itself has a neat gadget for hooking on the door frame (under the sealing rubber) on a car. Unfortunately, this tie-down gadget will work on neither the Ranger nor the Ecosport as both have the sealing rubbers glued in position.
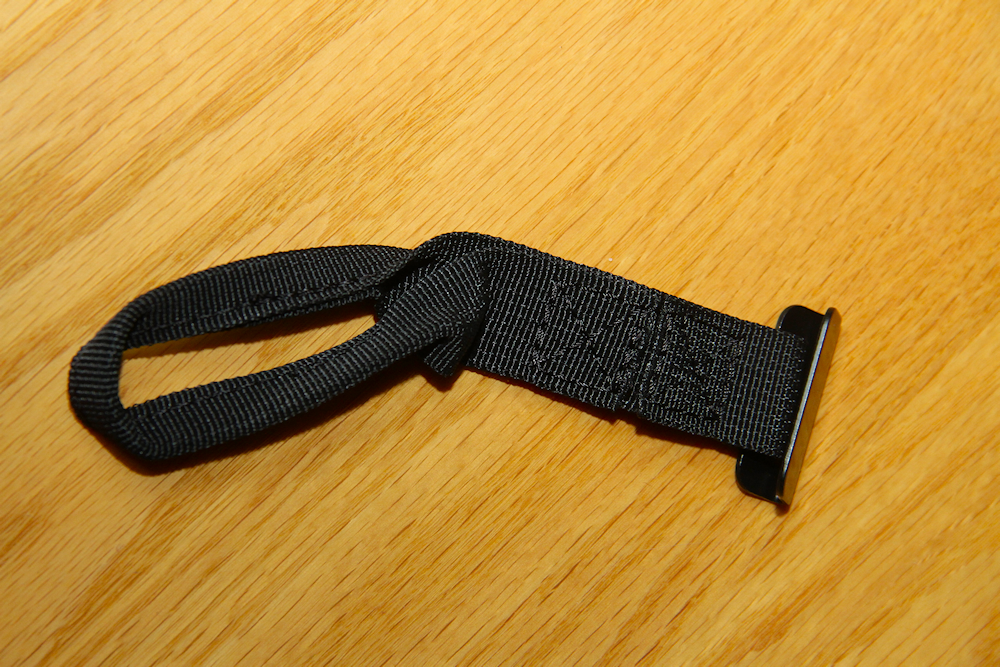
Fig 5a Mounting hooks to fit under rubber door seal
The major point here is that if you have to use these gadgets to tie down the Roofi, you need to ensure that the door rubbers on your vehicle are removable. If your door seals are glued down like mine, and you have no alternative method of tying down the Roofi, you will not be able to use the Roofi.
My canopy has two struts running down its length, and fortunately, the distance between these was exactly the width of the Roofi. What I need was to put tie-down points on these struts. For this I used door/drawer handles which were fixed with stainless steel bolts. I also added two cross-struts across the existing struts with the distance between these cross-struts the same as the length of the Roofi.
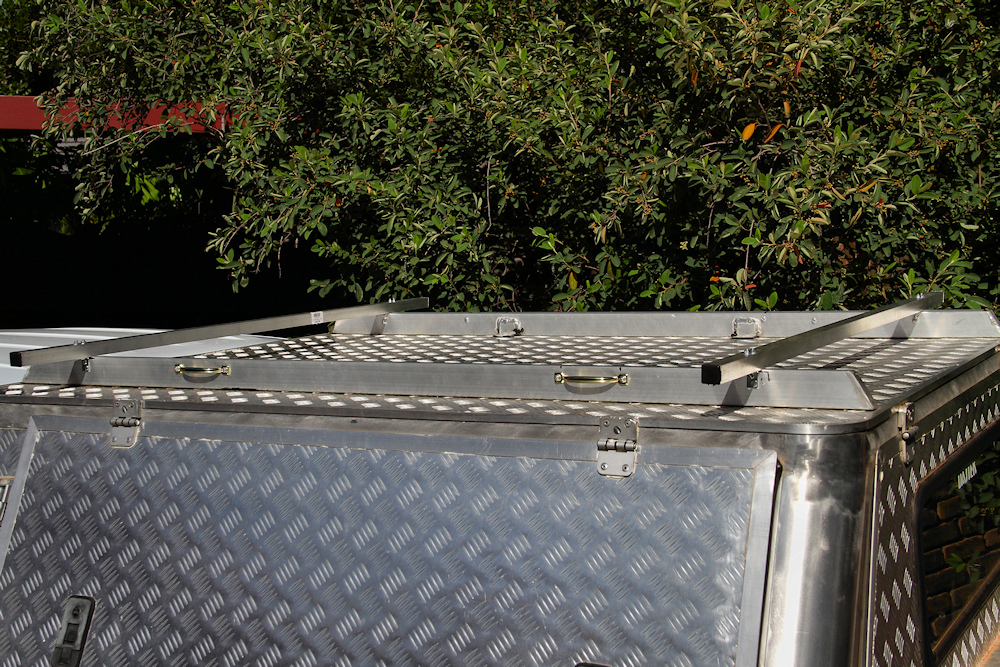
Fig 5b Cross struts and tie-down points
For the trial run, I packed the Roofi with the things that I would want to take on a trip. Table, chairs, mattresses, tent inner, tent poles and a groundsheet. We packed the goodies in such a way so that the Roofi was more or less wedge shaped to minimise wind resistance.
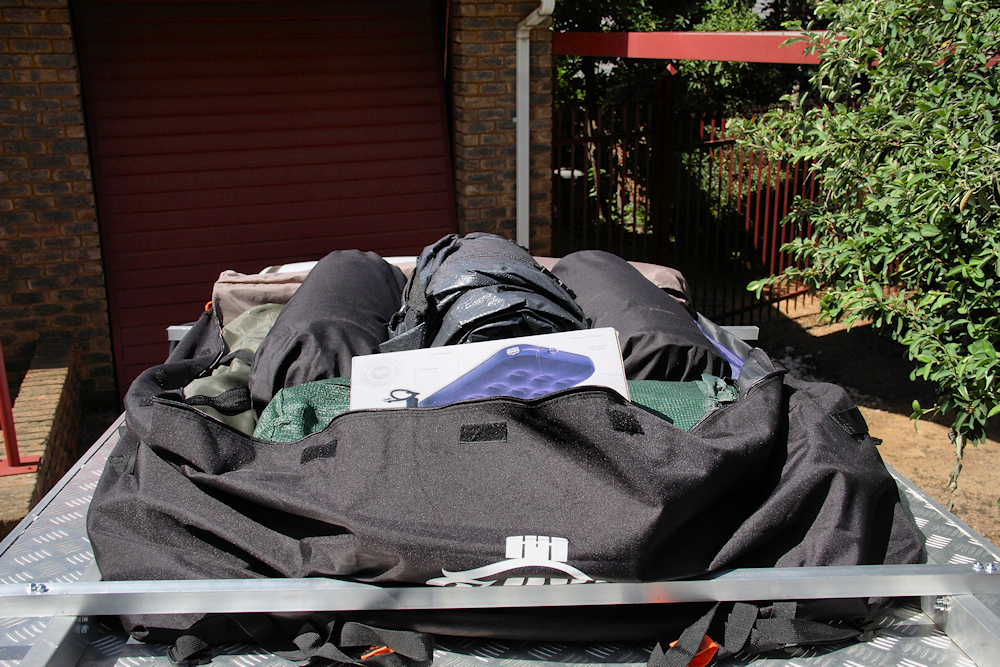
Fig 5c Roofi packed for trial run
Tying down the Roofi for the first time took quite long, as we had to figure out how to get the straps to the right length. What made this more tricky was that the straps were way too long for the short distance to the tie-down points.
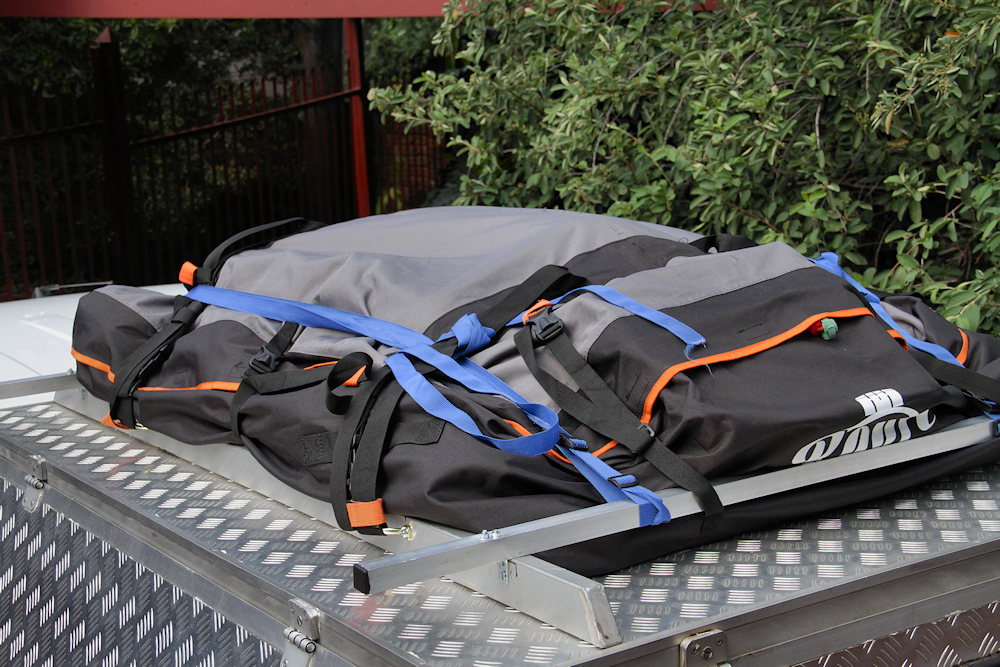
Fig 5d Roofi closed and tied-down
In Fig 5d, you can see I added two extra straps (the blue ones) for peace of mind, but I don't think these are necessary. If you compare Fig 1 and Fig 5d, you can see there is still plenty of space in the Roofi. In fact we put this space to good use after our first camping trip with the Roofi - as the tent was still damp from the overnight dew when we packed up camp, we also added a roughly folded flysheet to the contents.
The trial run (about 20km of freeway driving) was successful, with no flapping nor slipping straps and more importantly, no shifting of the load.
One thing to be wary of is to make sure there is sufficient space above the Roofi when parking the vehicle. Things like low hanging branches can rip the material. A case in point was when reversing out of my garage for the trial run, I had not lifted the door sufficiently and the handle on the door caught the top of the Roofi causing a slight tearing. Fortunately, only some threads in the material were broken. I fixed this using duct tape on the inside of the bag, and tent seam sealer on the outside.

Fig 5e Roofi repairs
This repair work was successful, as no water got into the bag when I tested it in a rain storm.
(updated: 6 March 2023)
Folding the Roofi
Folding the Roofi is not as trivial as it sounds as it has to fit into quite a small bag. First, it must be squared up, with the sides folded neatly between the top and bottom of the bag.
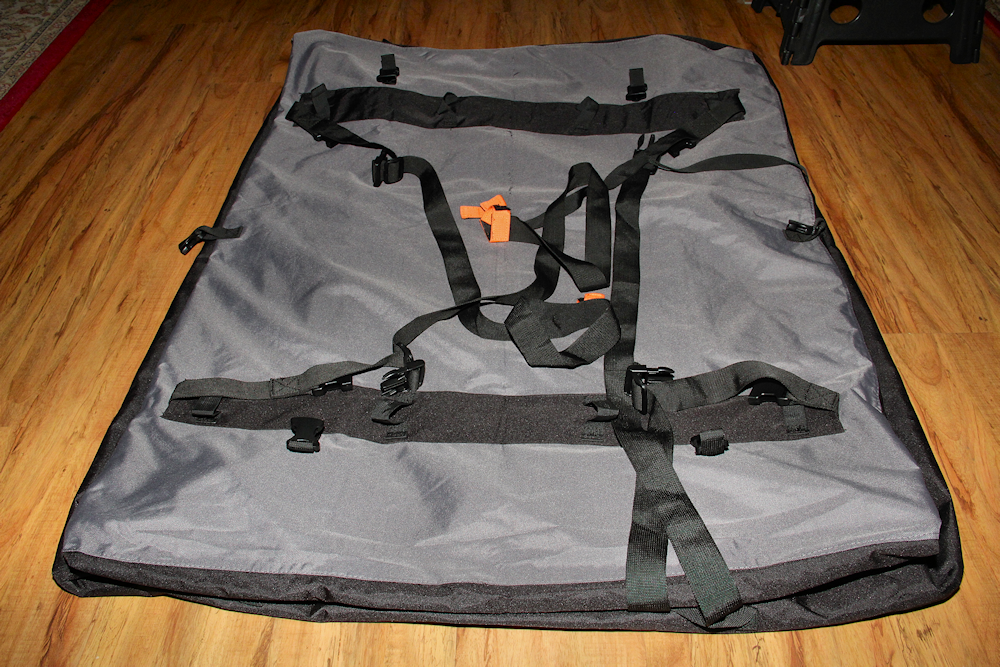
Fig 6a Squaring up the bag
Place the straps in the centre of the bag or into the folded sides.
Now fold the two long sides to the middle.
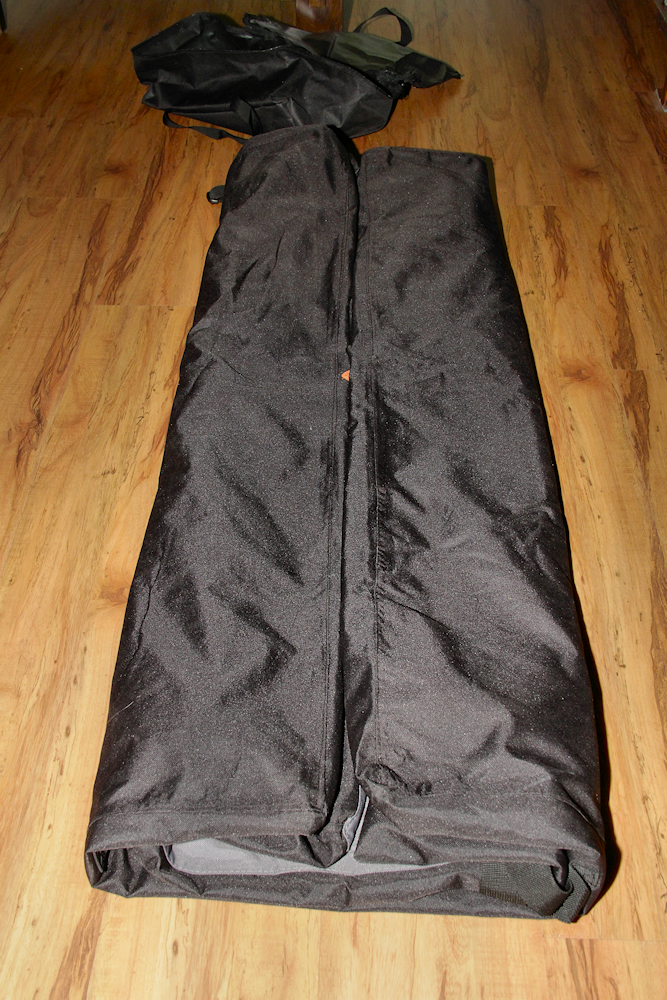
Fig 6b Fold long sides to the middle
Now fold the two short sides to the middle.
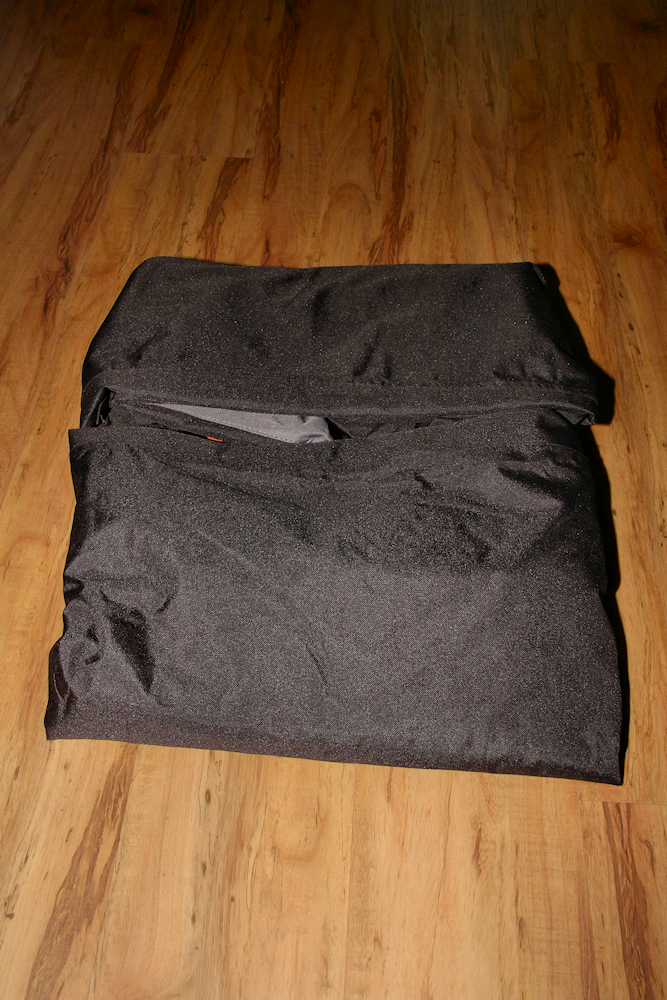
Fig 6c Fold short sides to the middle
Finally, fold the Roofi where the two short sides meet. What works here is to carefully lift the Roofi where the short sides meet, so that the folded short sides are on the outside, not the inside. This reduces some of the bulk of the folds.

Fig 6d The final fold
This now fits comfortably into the bag.
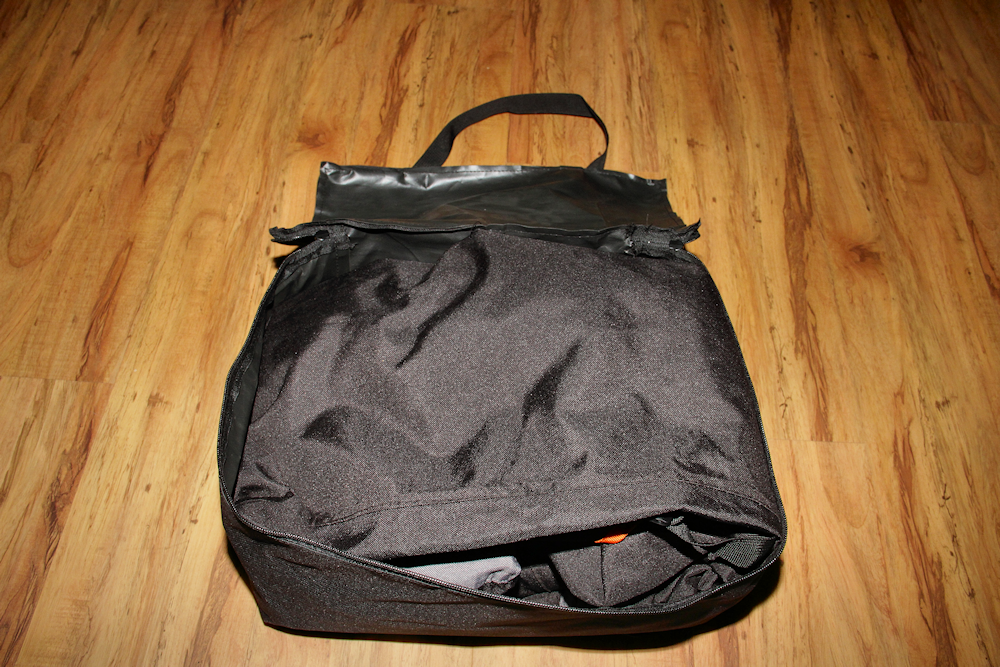
Fig 6e In the bag
(updated: 9 February 2023)
Concluding Remarks
The Roofi certainly lived up to my expectations. After our first camping trip, using it freed up more than enough space in the back of my bakkie to make packing very much easier.
Would I recommend it? Most definitely, if you have the means to tie it down.
(updated: 8 March 2023)
Back to Camping Gadgets
