Ford Ranger
Pollen Filter on Ford Ranger T6
After driving the bakkie for a year now, I have found that sometimes when I switch the fan on, I get a rather funny smell in the cab. From doing a bit of reading, it would appear that the T6 bodies have a pollen (or cabin) filter. I'm not sure if they all do, but the XLS definitely has one. I really struggled to find information on this, and the only hints I got was from the SA 4x4 Community forum. This post deals directly with the pollen filter, but noone actually says where this beast lives, other than behind the panel. Searching further, I found a post by member JJE in this thread (post #15) where he says the pollen filter is behind the glove box and gives some info on how to get to it.
The purpose of this note is to show with the aid of pictures as how to get to the pollen filter.
Firstly, open the glove box and look at the sides of the frame in which it fits into the dashboard. There are retaining clips for the catch on either side.
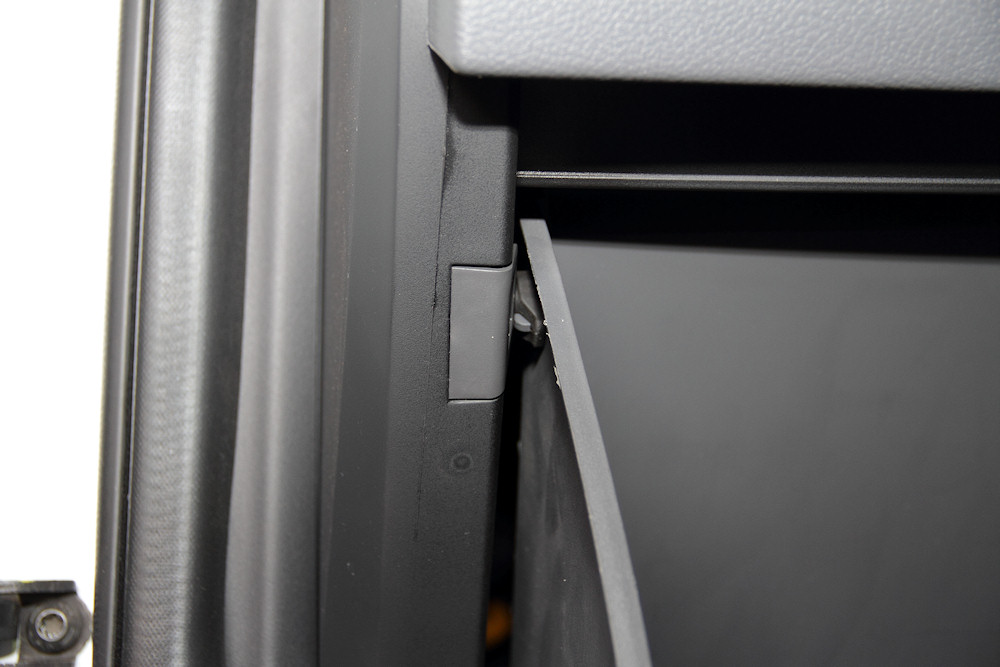
Showing the retaining clip in position
This clip can easily be removed by levering it towards the glove box. You can use a small screwdiver, but I found a fingernail to be more than sufficient for the job.
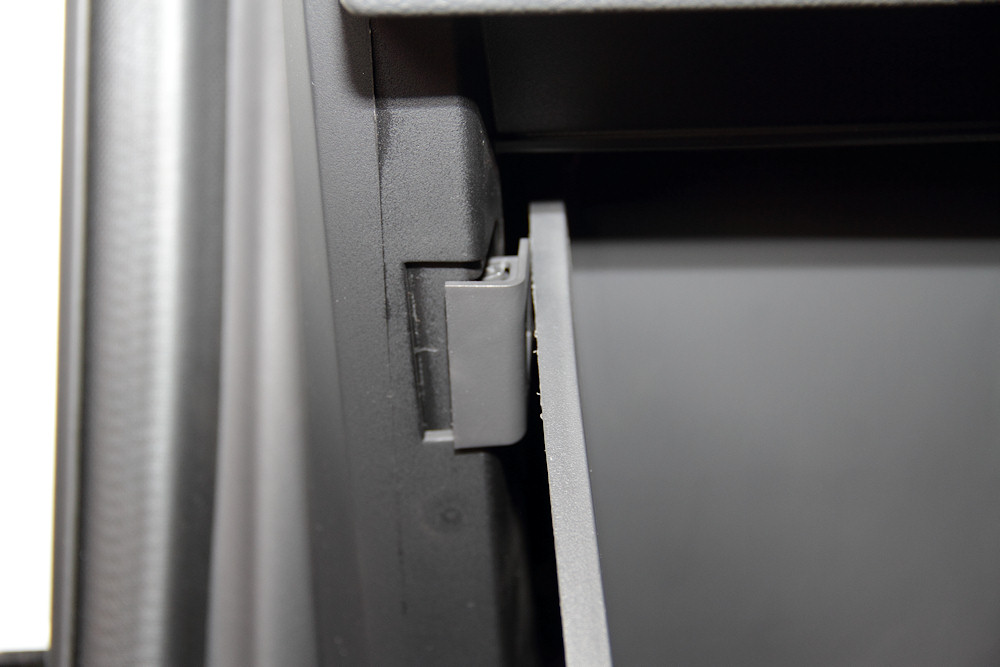
The retaining clip unclipped
At this stage the clip can slide forward - you may have to flex the glove box a bit to get it out.
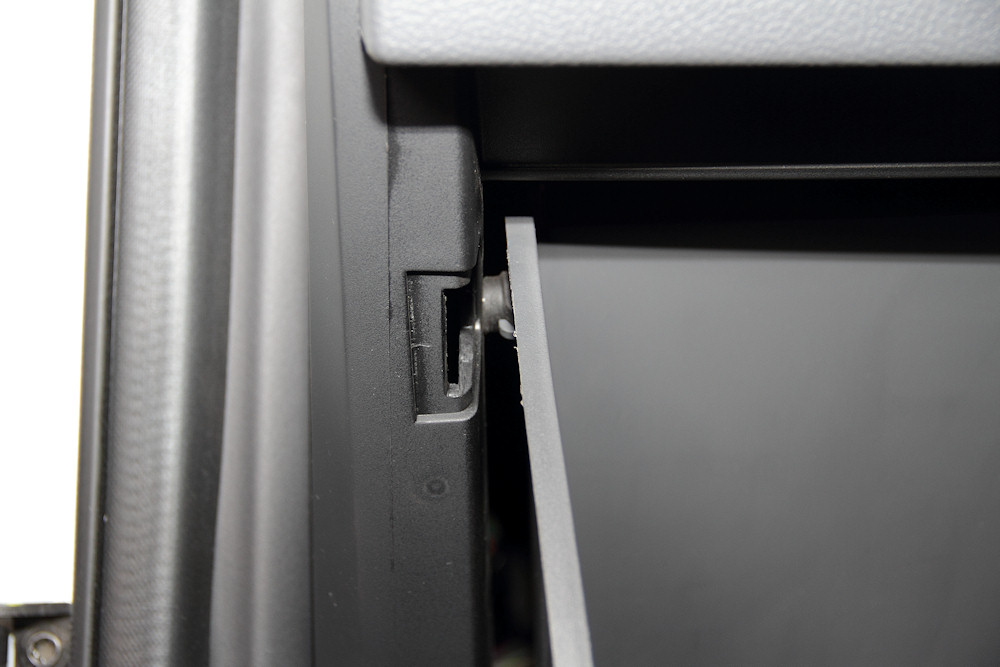
The retaining clip removed. Note the stopper behind the clip's slot.
Removing the retaining clips makes it much easier to move the stopper in and out past the frame. The glove box can now be pulled forward to reveal what's behind it. Once again, it may be necessary to flex the side of the glove box to get the stopper past the frame. Make sure that you empty everything out of the glove box, otherwise the contents will end up on the floor of the bakkie!
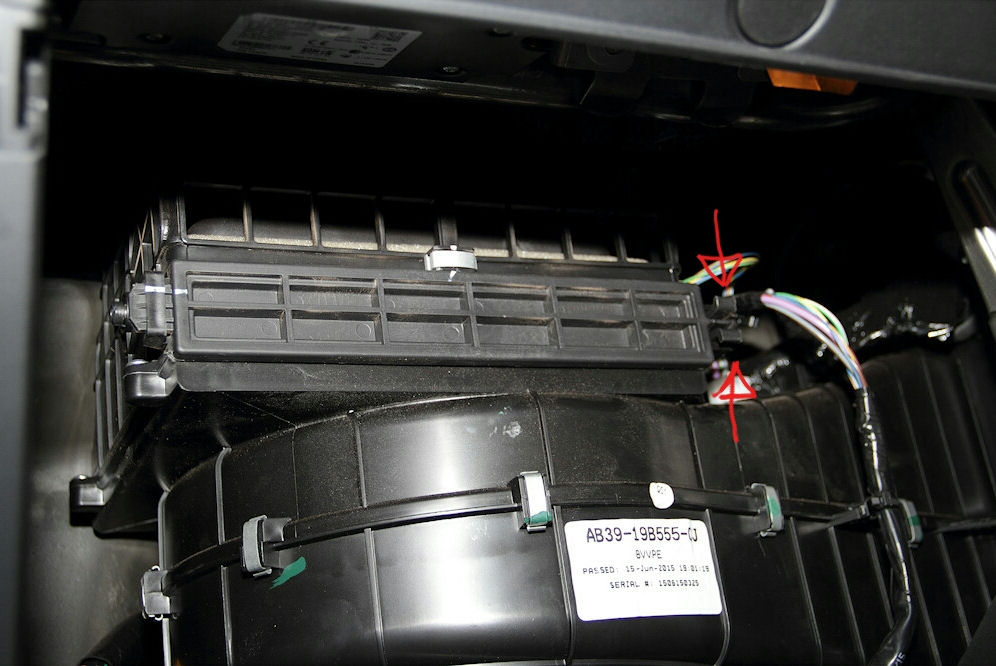
The cover of the pollen filter
There is a squeeze clip on the cover to the pollen filter. I have indicated with arrows how to squeeze the clip to release the cover. Pull it forward, then slide it to the right to get it out.
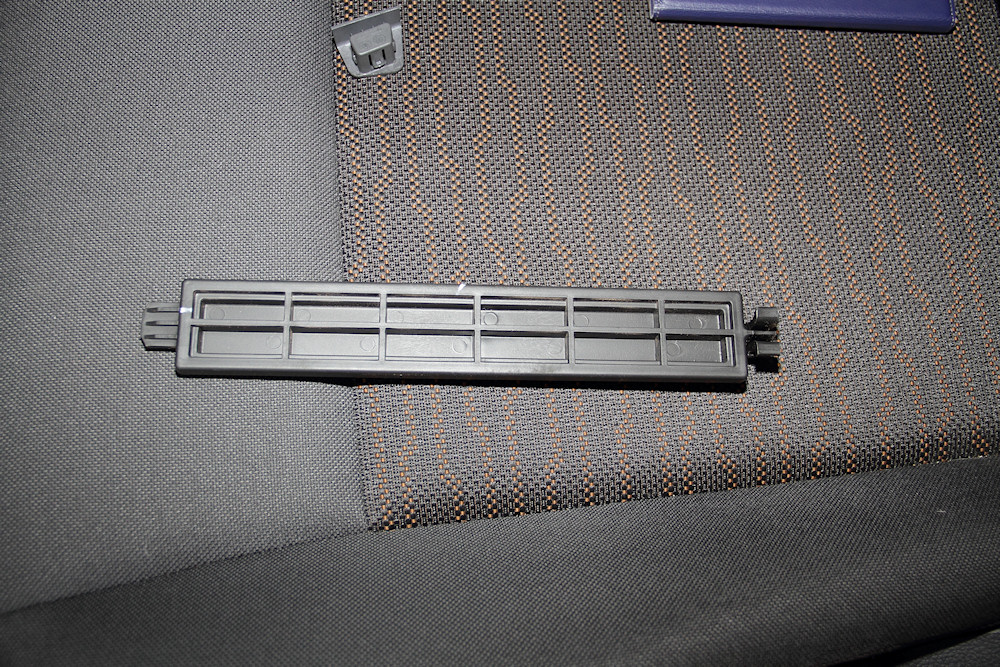
The cover of the pollen filter. In the top part of the picture is one of the retaining clips.
You can now see the pollen filter in its housing. It is removed by pulling gently on it.
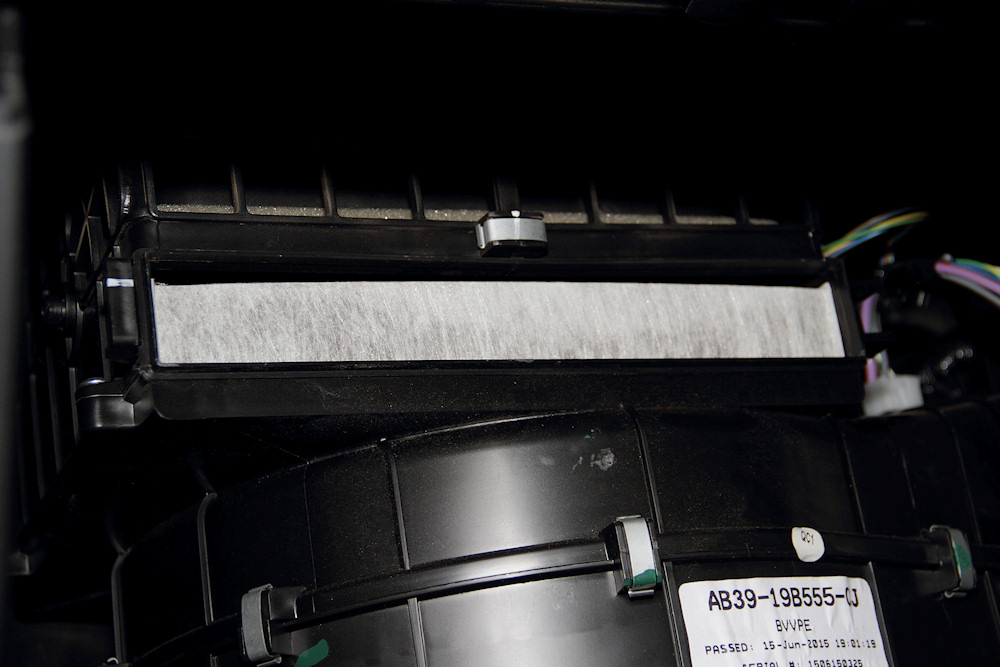
The pollen filter is now visible and can be removed
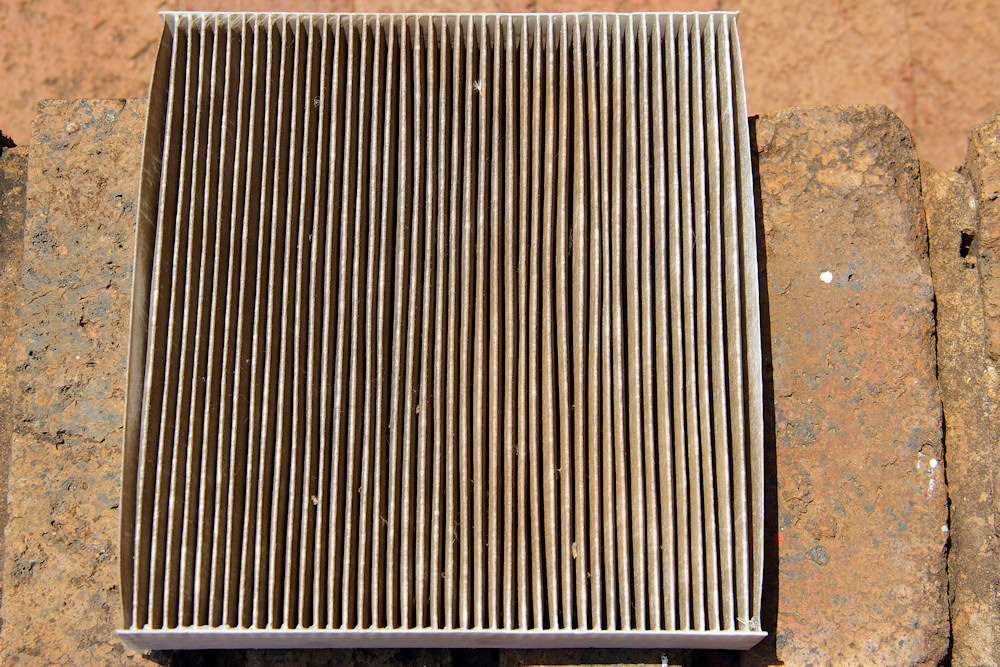
The pollen filter, showing how dirty it is.
This filter was certainly not cleaned or replaced during the service last month!
Pat tried washing the filter in her lab at work, but that was not too successful, so I bought a replacement at Midas (GUD AC97 for R170, October 2016).
Update 13 August 2017
The bakkie went in for its second service in the first week in August. Just for comparison, I took a photo of the pollen filter before it went in for a service.
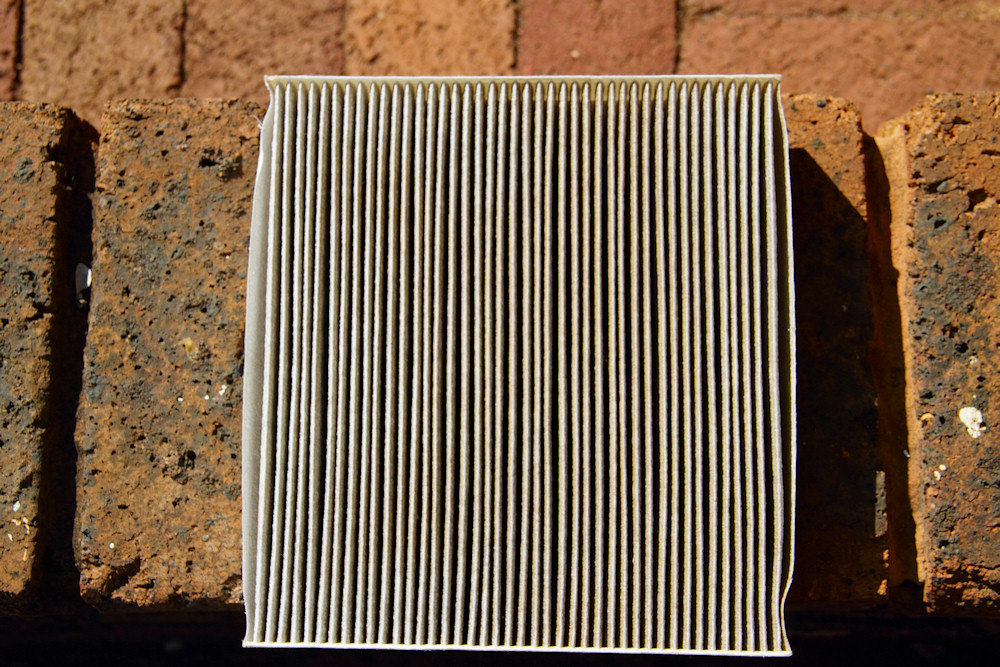
The GUD pollen filter, just before the second service.
As you can see by comparing the two pictures, the GUD filter is nowhere as dirty as the first filter. I did far more dirt road travel with this filter, so this begs the question, why was the first filter so dirty? Swopped from another vehicle? The bakkie had done far more travelling than the 37km on the odometer when I got it?
Another problem I had was that the service centre claimed to have replaced the filter. When I saw this on the invoice when I got home, I decided to check the filter. Lo and behold, the filter had not been replaced. This took another trip to the service centre, and a bit of a fight, but I got a new filter.

The pollen filter, just after the second service.
Back to the bakkie's story.
