Recipes
No knead Light Rye Bread
Most mass produced commercial breads (especially white breads) tend to give me rather serious acid reflux. I am not sure what in the baking process causes this (possibly the cooking oil), but this set me thinking about making my own bread.
Frank started baking his own bread as a hobby, quite a while back. He makes some really tasty rye breads which he was always willing to share. Just before they emigrated to the UK, he gave me a "loaf in a packet" from a wine farm in the Cape, to try. This had to be the easiest recipe ever, add the yeast to water, let it stand for a bit, then mix in the rest of the ingredients. Let it proof for a couple of hours, then bake for an hour. Even though I had to add some brewing yeast (the packaged yeast was no longer viable), it was very successful. This made me think: is the whole process of kneading (and having to add sunflower oil) really necessary?
From the experience with Frank's "loaf in a packet", Pat and I developed this recipe for a light rye bread. Pat likes full on rye bread, but I find it too dry, so we have experimented with the ratio of rye and white bread flour quantities and settled on this one.
Ingredients
- 1½ cups tepid water
- 2 tsp sugar
- 5g (½ packet) dry yeast
- 200g white bread flour
- 300g rye flour
- 3 Tbsp mixed seeds
- 1 tsp salt
Method
Microwave the water and sugar on full for 45s, to warm the water.
Weigh off half a packet of yeast. The unused half packet can be stored in the fridge.
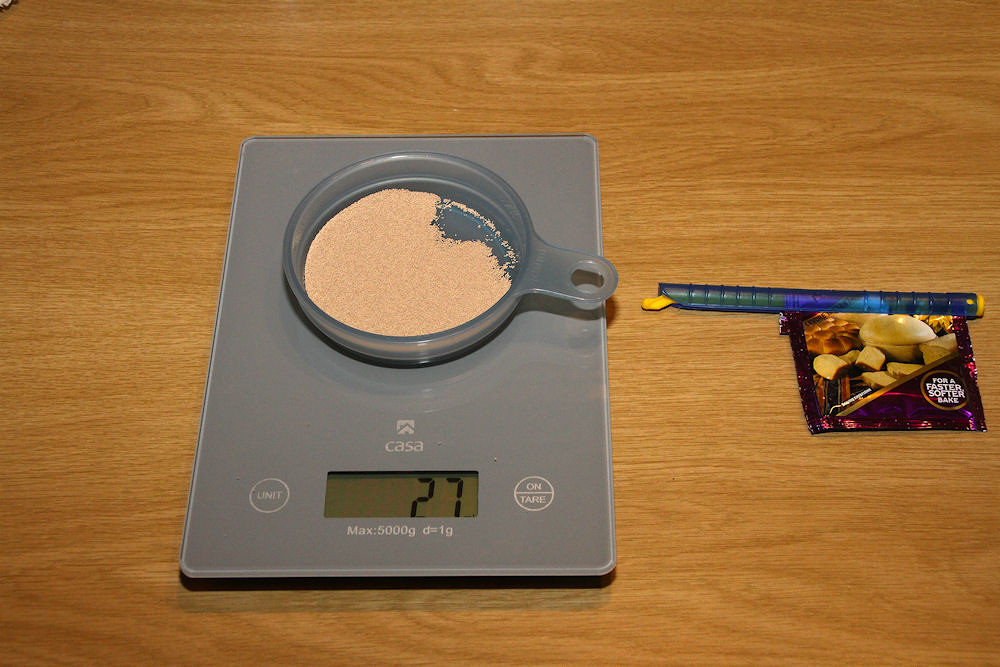
Half of a packet of yeast weighed off with the other half packet resealed
Add the yeast to water (don't mix) and let it stand in a warmish spot for about an hour. This gives you a chance to see if the yeast is viable.
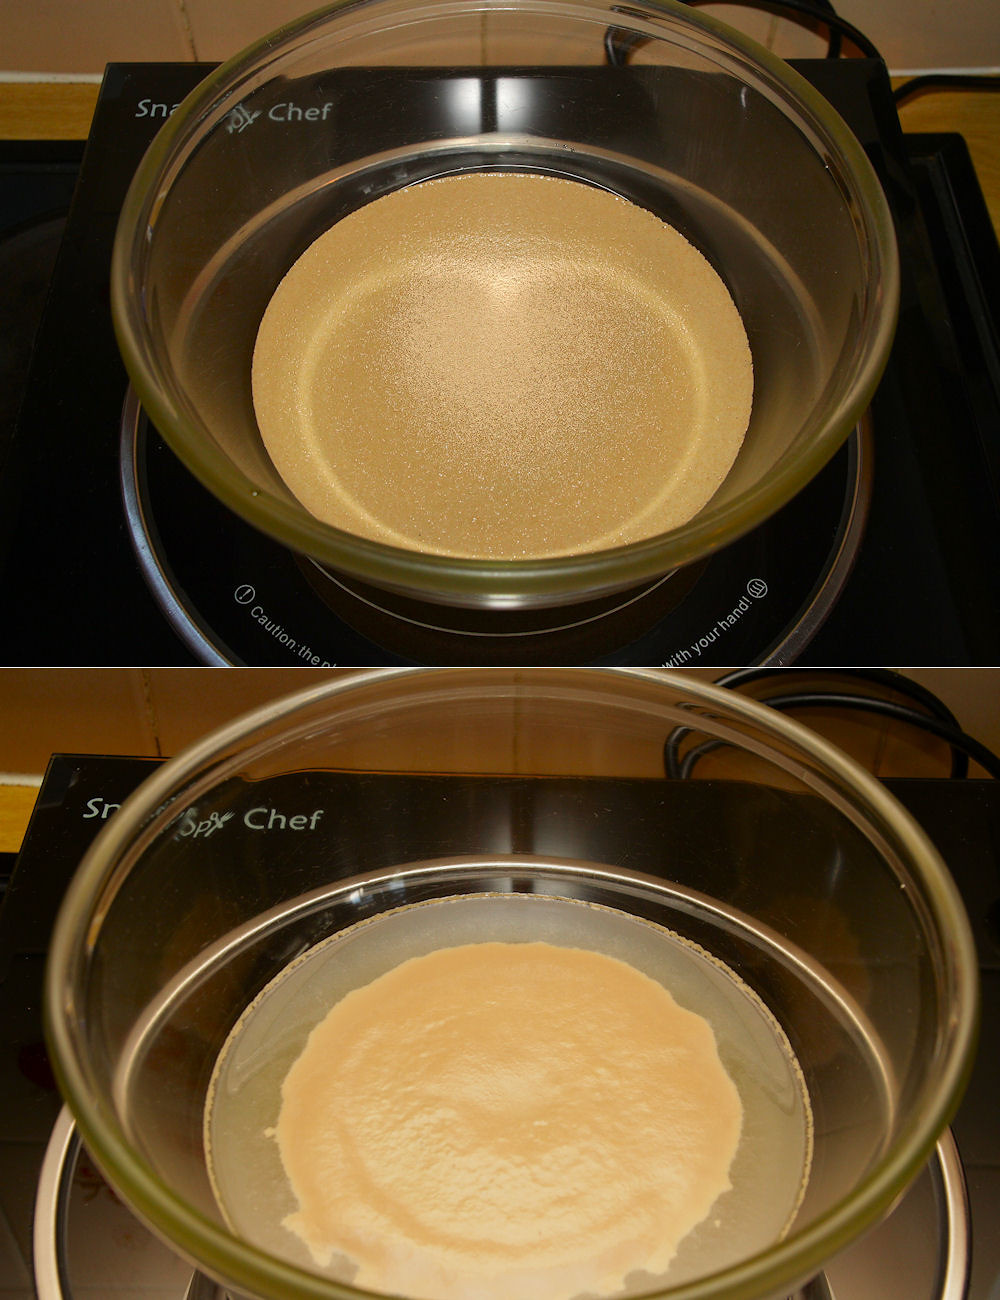
In the top pic, the yeast spreads out on the surface of the water; in the bottom pic, it forms a paste after an hour
If the ambient temperature is high enough, the yeast will start forming small bubbles as it starts consuming the sugar. On a coolish winter's day, it forms a paste on the surface of the water with particles sinking to the sugar.
It is now time to start adding the flour.

Weighing the flour
Some flours are quite lumpy, and these should be sieved. Both types of flour shown above needed to be sieved.
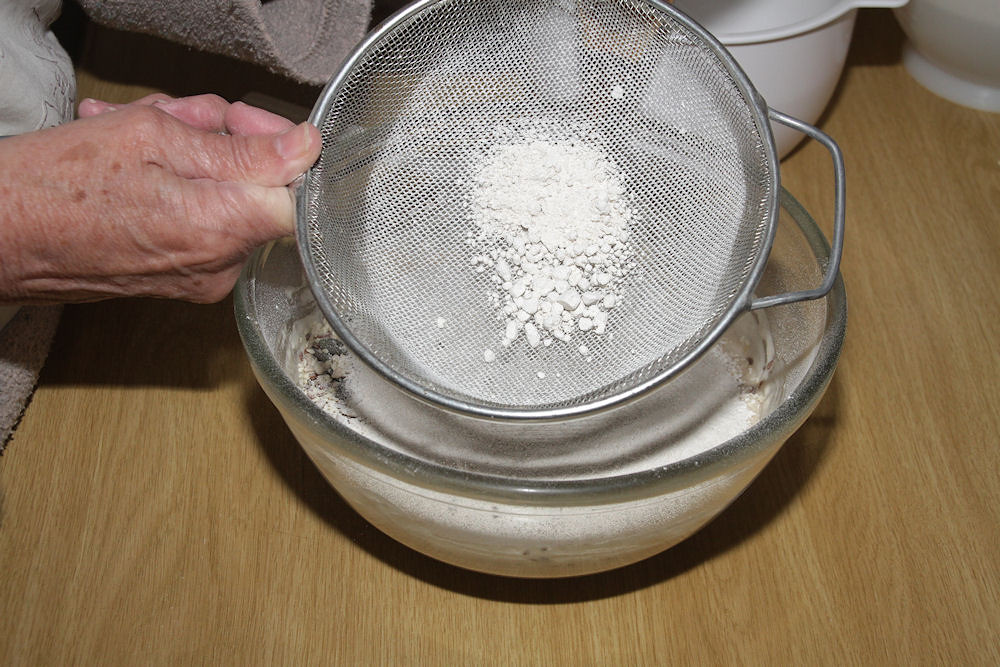
Sieving the flour
Use the handle of a wooden spoon to mix the flour into the yeast/water mixture. After adding the white bread flour, add the seeds and salt. Then add the rye flour and mix well, making sure to try and get all the residual dry flour on the bowl, into the dough.
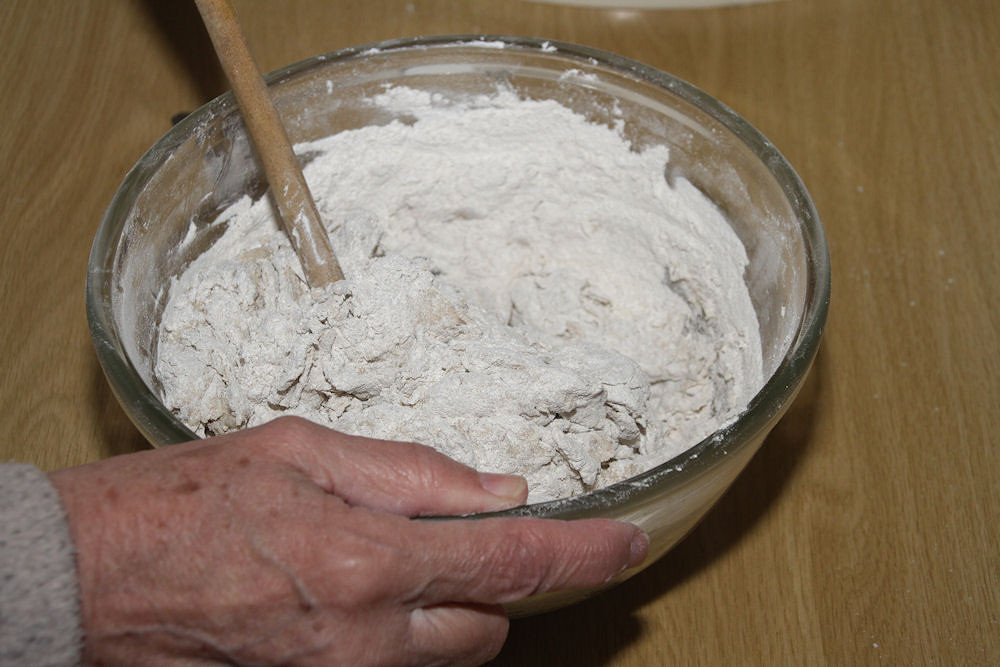
Mixing the dough
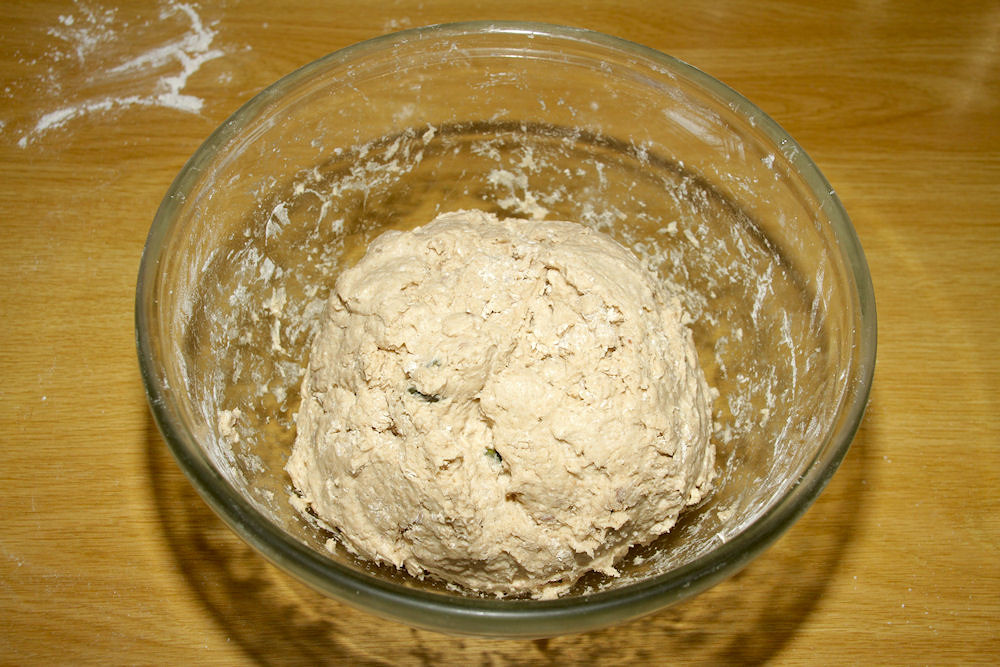
The dough ready for proofing
Let the dough proof in a warm spot for about four hours. After that, it is time to turn out the dough into a baking pan.
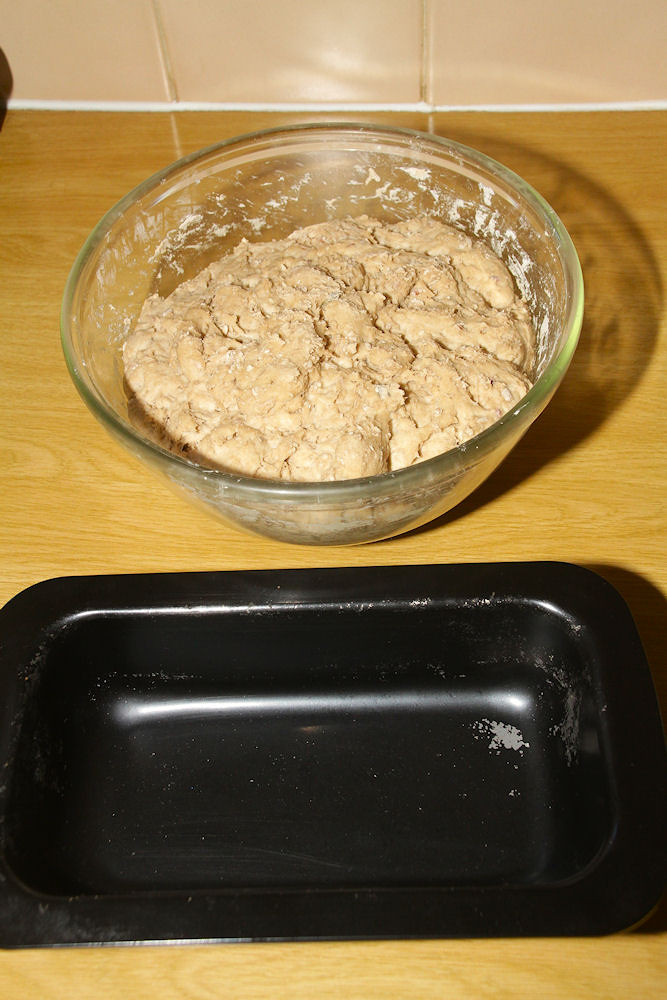
The dough ready to turn into the baking pan
Spread the dough out in the pan, trying not to disturb the skin on the dough too much - you don't want to lose the CO2 already formed inside your dough.
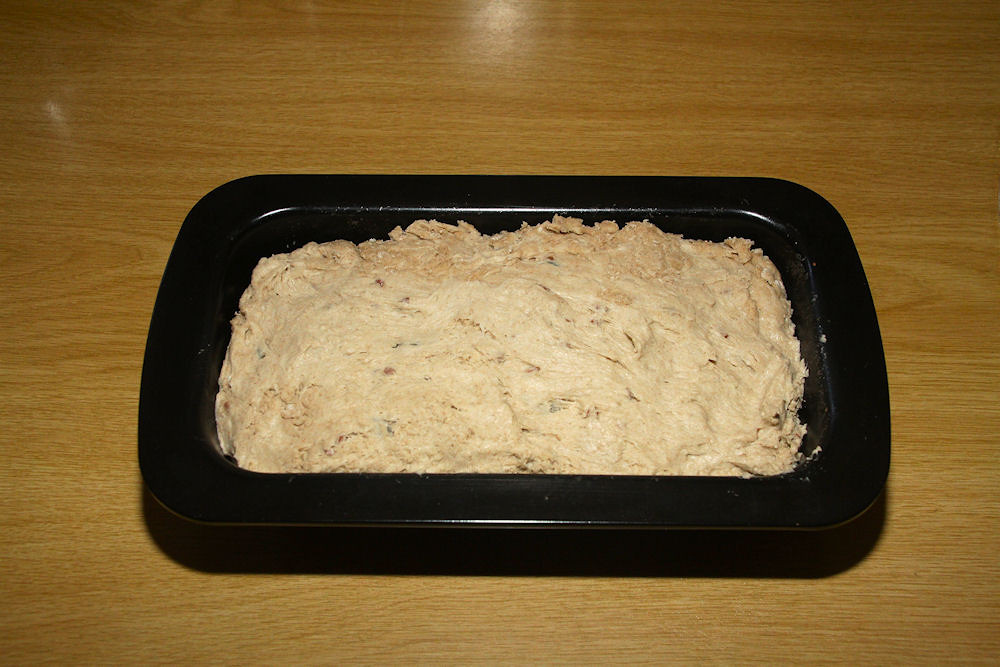
The dough in the baking pan
Now let the dough proof again, in a warm spot, for another two hours, so that it can take the form of the baking pan.
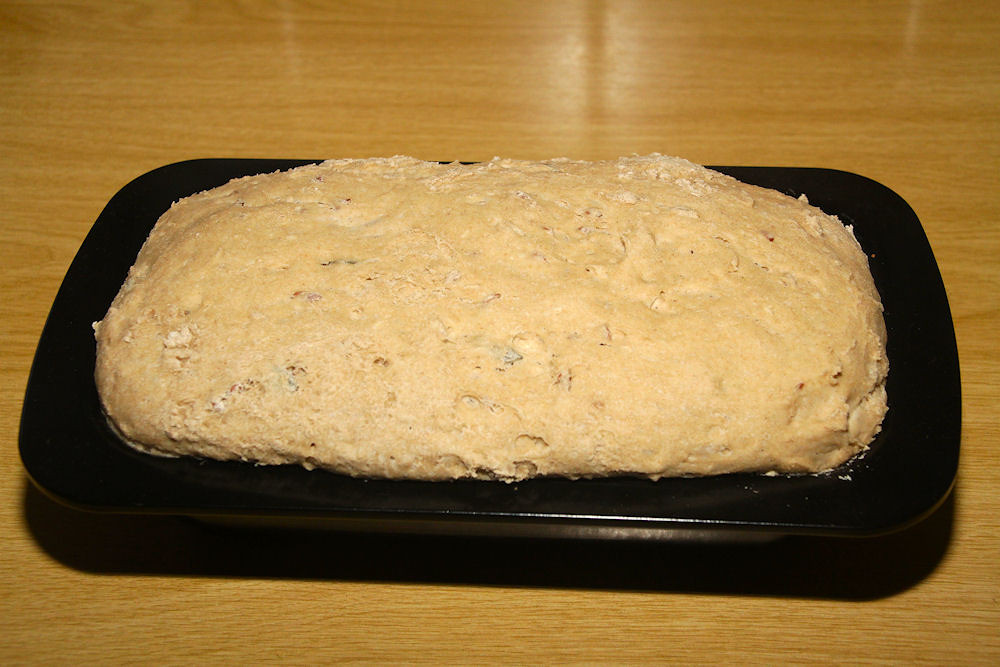
After 2h proofing in the baking pan
You can see that the dough has risen quite a bit. At this stage, gently move the dough off the side of the baking pan and back on to the loaf. If you don't do this, you get an overhang on your loaf.
Time to bake: place the baking pan in an oven between 180°C and 200°C. Bake for 45 minutes.
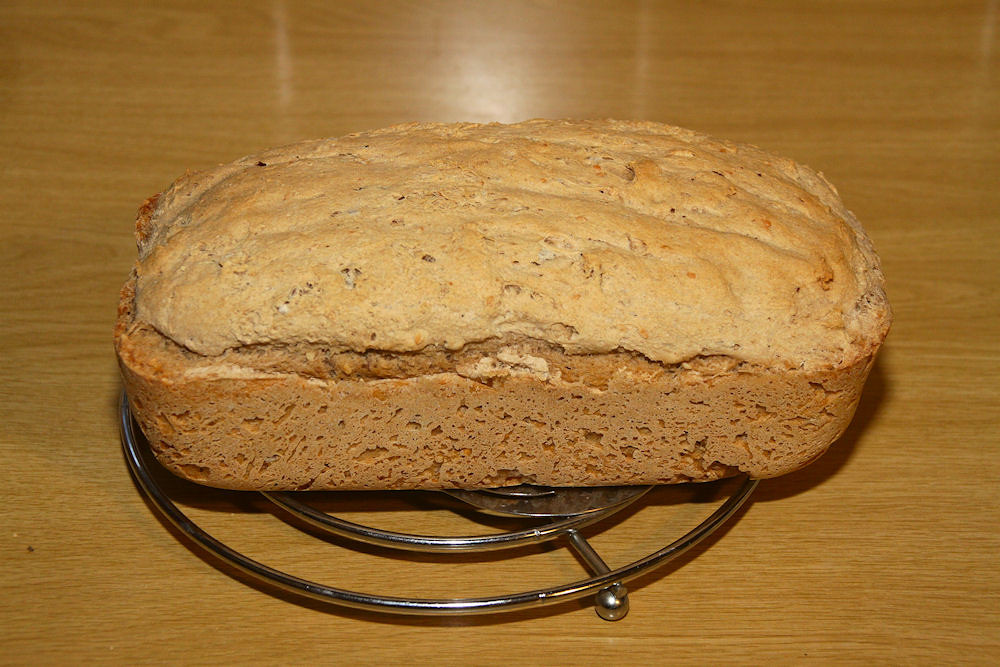
The finished product
Enjoy!
(11 August 2023)
